How to Fix a Running Toilet: The Ultimate Guide
DIY TOILET REPAIR
A running toilet is more than just a nuisance. I can waste up to 200 gallons of water a day and cause your utility bill to skyrocket.
Fortunately, learning how to fix a running toilet is not rocket science. It will also save you lot of money. While a professional plumber might charge hundreds of dollars for a service call, fixing it yourself will only set you back 15-30 dollars in parts.
When a toilet keeps running in stead of filling up (and stop making that annoying noise!) it means something is messed up in this process.
The culprit is (nearly) always one of three parts inside the tank:
The flapper
The flush valve assembly
The fill valve assembly
This guide explains what each part does, how to fix it and where to get the parts. I've included both text, video and images.
Lets begin.
Tools to fix a running toilet
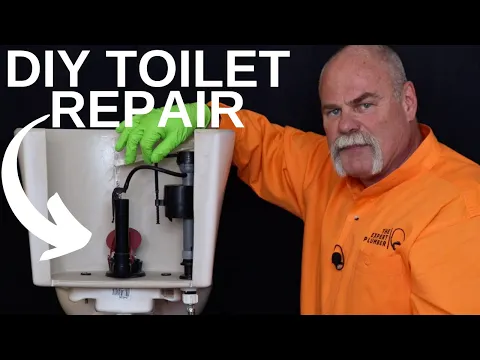
This guide is pretty comprehensive, so be sure to try the easy way first: Watch this 7 minute video and see if you get the guidance you need.
If not, read on.
Before I walk you through the steps to diagnose and hopefully repair your running toilet, you'll need some tools. Luckily most repairs can be done with just four items:
A flange plunger: Unlike standard cup plungers (which are for flat drains like sinks), a flange plunger is specifically designed to fit the shape of a toilet drain.
An adjustable wrench: Essential for removing supply line nuts and tank bolts. Pro-tip: Never over-tighten plastic nuts with your wrench, or you risk cracking the components and having to buy a whole new toilet.
Adjustable pliers (Channel locks): Perfect for gripping larger plastic nuts, such as the ones holding your fill valve in place.
A high-quality multi-purpose screwdriver: You will need this to adjust fill valve screws and remove various bolts.
Turn off the water supply before a repair! Locate the shut-off valve behind the toilet and turn it clockwise. Then, flush the toilet to drain the tank.
Toilet mechanics
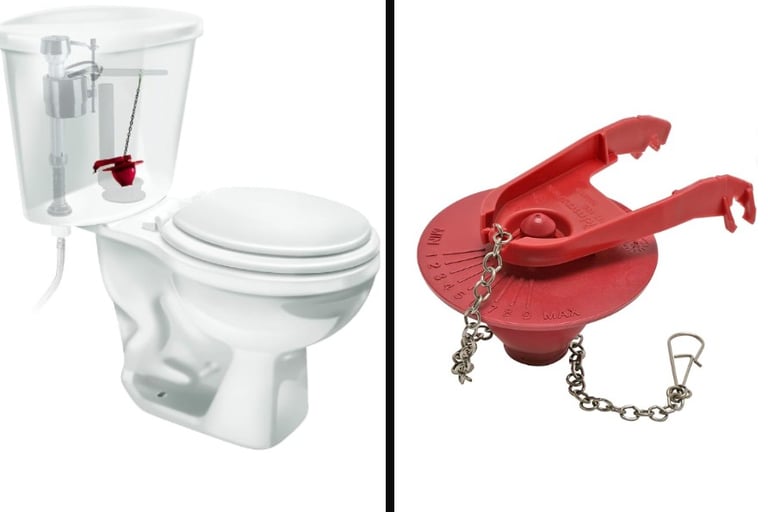
A 2-inch flapper. Screenshot from Fluidmaster (view on Amazon)
As the flapper gets old it can form cracks or become slightly deformed, causing water to constantly leak into the bowl. To fix this you need to replace the flapper.
Signs Your Flapper Needs Replacing
A constantly running toilet: You hear the sound of water running or hissing long after you've flushed.
Phantom flushing: The toilet spontaneously refills its tank even when nobody has used it.
A weak flush: Water drains from the tank too slowly, or you have to hold down the handle to get a complete flush.
Visible damage: If you open the tank and see that the rubber flapper looks cracked, distorted, or feels stiff instead of pliable.
How to replace a flapper, step-by-step
1. Turn Off the Water Supply: Look behind or near the base of your toilet for the water shut-off valve. Turn the handle clockwise (to the right) until it stops. This prevents the tank from refilling while you work.
2. Drain the Tank: Flush the toilet to empty out the water in the tank. Hold the handle down to let as much water drain as possible. Use your sponge or an old towel to soak up any remaining water at the bottom of the tank so you have a dry workspace.
3. Remove the Old Flapper: Unhook the flapper chain from the flush lever arm. Then, pull the sides (the "ears") of the rubber flapper off the pegs on the flush valve tube. It should slide off easily. Throw the old, worn flapper in the trash. Take a moment to wipe the rim of the flush valve to ensure no mineral buildup prevents your new flapper from sealing properly.
4. Install the New Flapper: Slide the ears of your new flapper onto the pegs of the flush valve tube. Next, connect the flapper chain to the flush lever arm. Leave a little bit of slack in the chain—about half an inch. If the chain is too tight, the flapper won't seal properly; if it's too loose, it might get caught under the flapper when you flush.
5. Test Your Work: Turn the water supply back on by twisting the valve counter-clockwise. Let the tank fill up. Watch the new flapper to make sure it drops securely into place and creates a watertight seal. Give the toilet a test flush. If everything works smoothly and you don't hear any leaks, you've fixed it.
Note that most flappers fit either 2-inch valves or 3-inch valves. To eliminate the guesswork you need to measure your existing flapper or get one that will fit both.
What is it and what does it do? The flush valve Is connected with the flapper. Its located in the middle of the tank, at the drain hole in the bottom. Both the flapper and overflow tube are part of the flush valve assembly.
When the flapper lifts, its the flush valve who allows the water to move from the tank into the toilet bowl to flush the waste.
How to replace a flush valve, step-by-step
1. Turn off the water supply, flush the toilet to empty the tank, and use a sponge to soak up any remaining water at the bottom.
2. Disconnect and Remove the Tank: Disconnect the water supply line (keep a bucket handy for drips), unscrew the mounting nuts from the underside of the bowl, and lift the tank off onto a safe work surface.
3. Remove the Old Flush Valve: Pull off the large tank-to-bowl gasket from the bottom of the tank, unscrew the plastic retaining nut holding the flush valve in place, and pull the old valve assembly out.
4. Install the New Flush Valve: Insert the new valve into the tank (ensure the small, beveled gasket faces down in the hole), secure it from the outside using the friction washer and retaining nut, and then press the new tank-to-bowl gasket onto the bottom tailpiece.
5. Reattach the Tank and Test: Place the tank back on the bowl, secure it evenly by alternating between the tank bolts. Reconnect the water line, and turn the supply back on to test for leaks.
If water is leaking into the bowl through the flush valve, you may be able to make a simple fix by replacing the flapper (see instructions above).
However if the flapper is broken, but can’t be remove from the flush valve, it is easiest to just replace the entire flush valve, including the flapper and overflow tube. One might even argue this is the prudent thing to do, as the whole assembly only cost around $15.
Keep in mind that you need to check if you need a 2-inch or 3-inch flush valve. Measure your existing part to get the correct size.
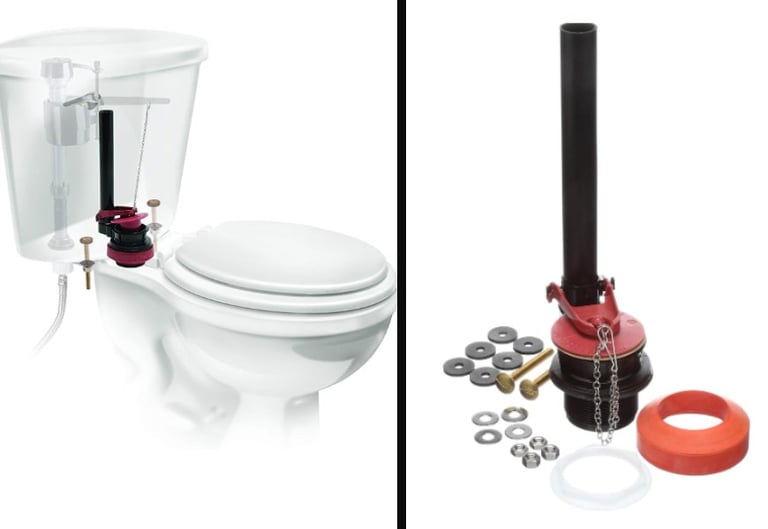
Toilet flush valve kit (2-inch). Screenshot from Fluidmaster (view on Amazon)

The fill valve
What is it and what does it do? The fill valves is the last of the three parts that can be problematic. Its job is to refill the tank after flushing.
It also sends water to refill the toilet bowl through the overflow tube.
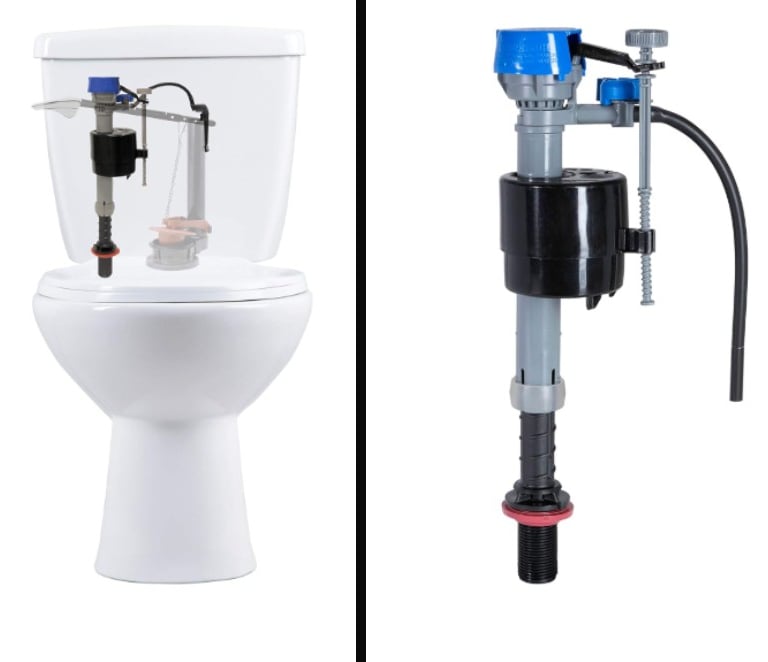
All fill valves comes with a float that regulates the water level in the tank. The float is integrated in the valve, so you dont have to buy it separately.
Modern toilets have what is called a Float Cup. Older toilets often have a ball-and-arm float.
Check out my guide on toilet floats here, where you also learn how to adjust the flushing power.
Universal toilet fill valve. The black, bulky cylinder is the float cup. Screenshot Fluidmaster (view on Amazon)
Signs Your Fill Valve Needs Replacing
A constantly running toilet: If the toilet is constantly running but the flapper is ok, its an indication that its time to replace the fill valve.
Refilling issues: If the tank (or bowl) isn’t refilling properly, you might need to adjust or replace the fill valve.

How to Replace a Toilet Fill Valve, step-by-step
1. Turn off the water supply (nob or screw at the back of the toilet) and flush the toilet. Remove the remaining water with a sponge. Disconnect the supply line from the bottom of the toilet.
2. Remove the old assembly: Unscrew the fill valve retaining nut and remove the fill valve.
3. Set up: Perform the setup steps for the new valve. You need to read the product instructions. It'll provide tips for initial setup of the valve and float.
4. Mounting: Install the new fill valve with the mounting nut underneath the tank. Reattach the water supply.
5. Refill tube: Attach the valve refill tube to the valve assembly and the overflow tube.
6. Turn the water back on and adjust the float to the water level you want, about 1/2-inch to 1-inch below the overflow tube (check the valve documentation for specifics). Test and check for leaks.
Most fill valves are tailored to 2-inch inlet connections. Most doesn't mean all, so remember to measure before you order.
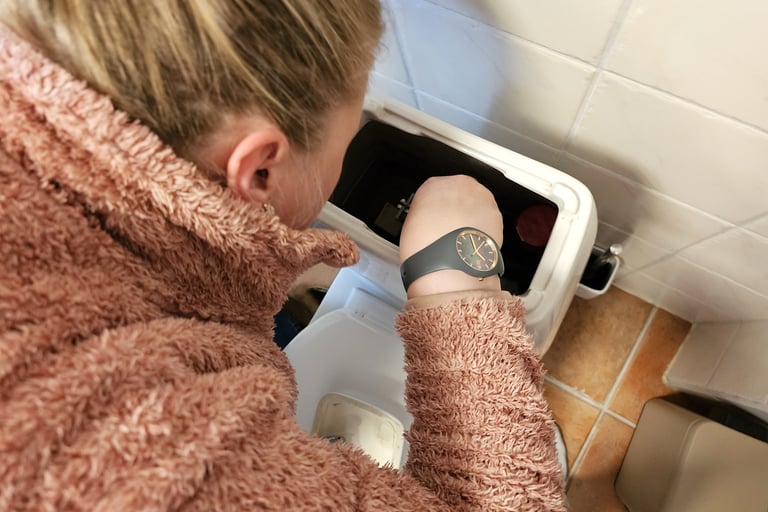
Anyone can learn how to fix a running toilet. Here is my wife, leading the way when our toilet broke.
The flush valve
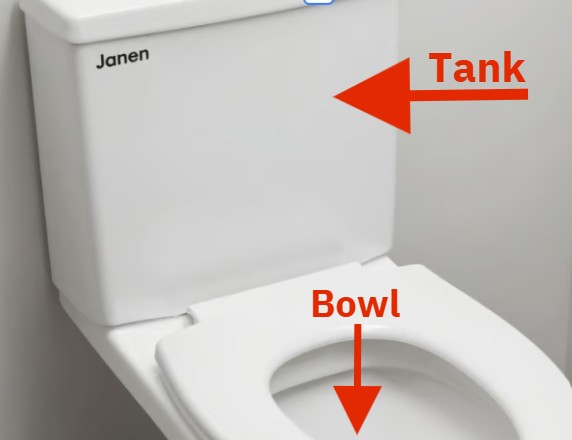
Most of the action making your toilet work takes place inside the tank.
When you flush, the toilet opens a flapper at the bottom of the tank, causing the water to drain into the bowl and wash away the waste. Afterwards the tank and bowl refills with new water.
Video: Replacing a flush valve
Video: Replacing a fill valve
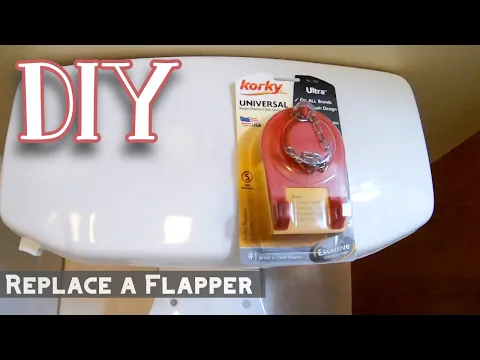
Video: How to replace a flapper
The flapper
What is it and what does it do? The flappers job is to open and close the tank drain hole/valve. It sits at the bottom of the tank and is usually red. When you pull the lever or press the button to flush, the arm and chain inside the tank lifts the flapper so that the water in the tank flows into the bowl. This is the flushing action.
When the tank is empty, the flapper goes down again and close the hole/valve so the tank fills up.
This blog is reader-supported. If you buy through links on this page, I may earn a commission at no extra cost to you